Animation Sequence
When creating Animation, Send to Unreal looks for action strips in the Blender NLA Editor.
The NLA Editor is used to determine several things:
- Which actions belong to an armature object.
Note
Actions in blender all exist in the same data block namespace and just contain fcurves values. It is not until they are set in an object's animation data that a determination can be made that an action belongs to a particular object. This is different from how unreal AnimSequence assets work. Unreal AnimSequence assets must have an associated skeletal mesh in order to exist. Therefore, Send to Unreal only exports skeletal mesh animation if the armature object has action strips in its NLA tracks. Also read about the auto stash active action option.
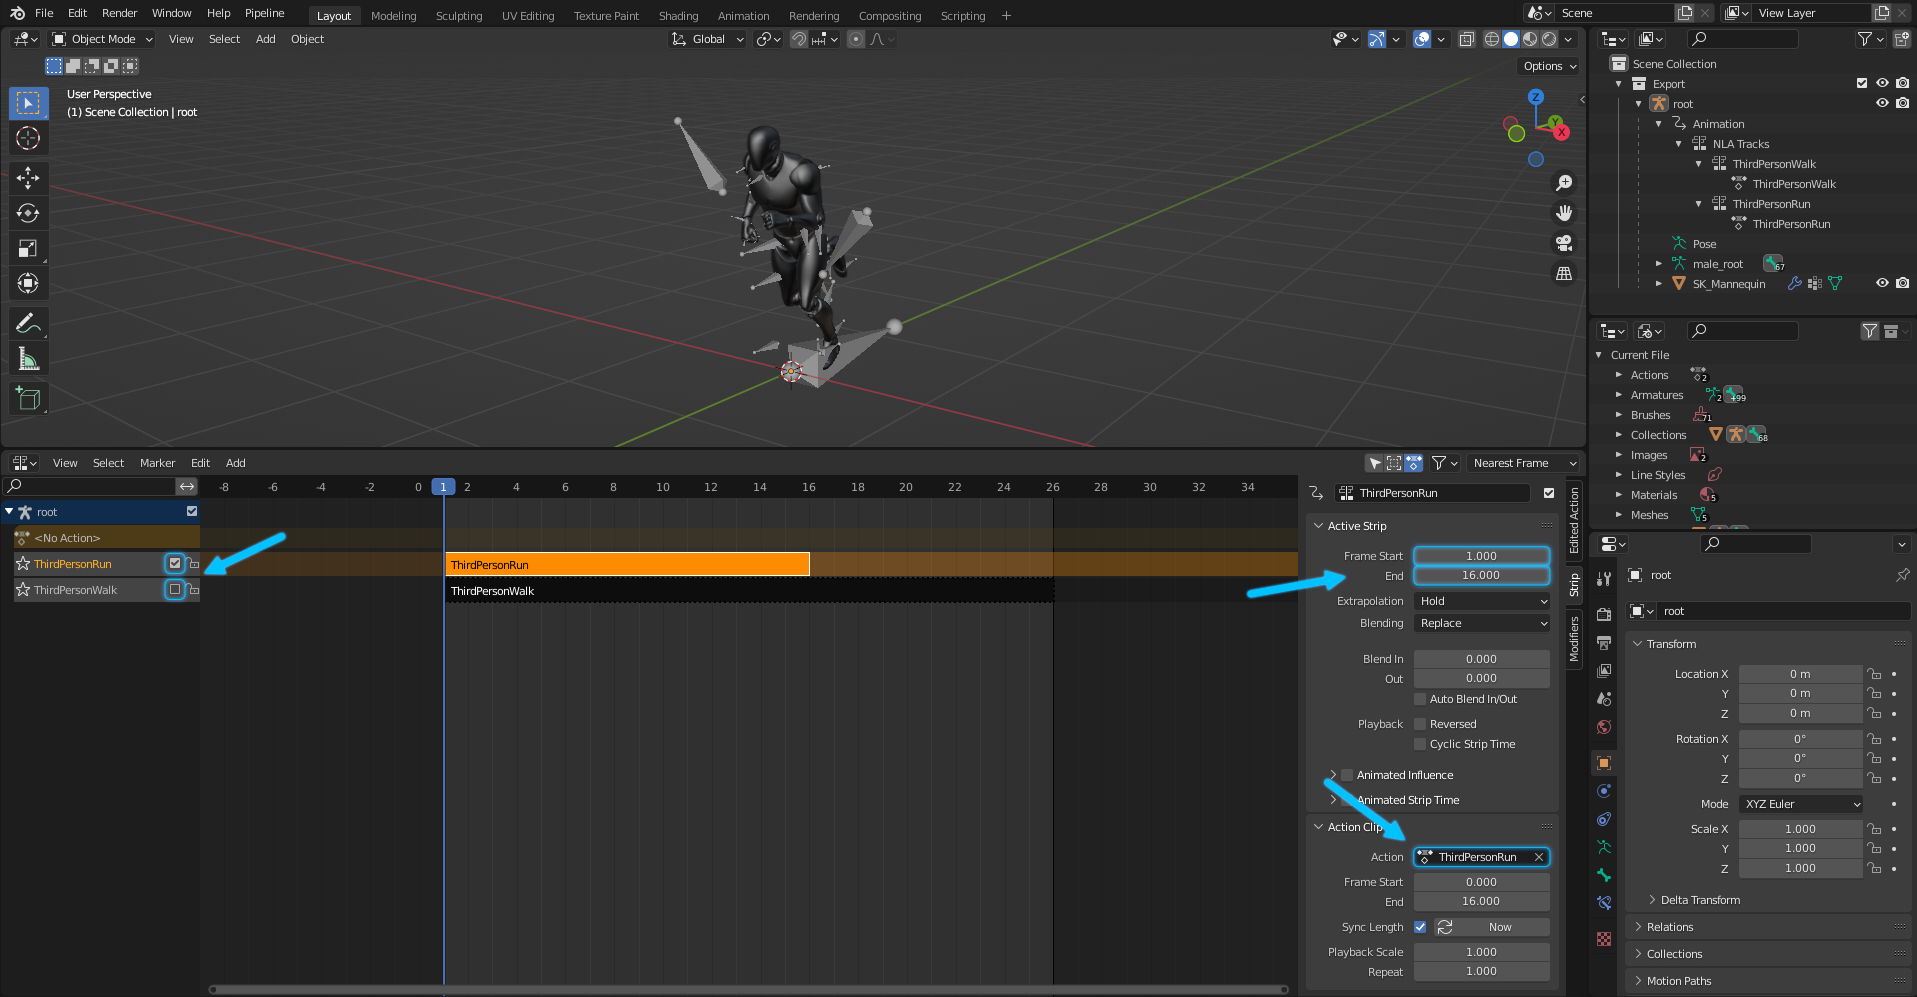
- Which action to export, by checking which NLA tracks are not muted.
Note
All un-muted strips in the NLA Editor will be sent as an AnimSequence of the skeleton that is in the Export collection. Also read about the Export All Actions option.
- The start and end of the Unreal Animation, by using the start and end frame of the clip.
Note
The first frame of the clip is the first frame of the AnimSequence and the end of the animation will be relative to the start.
- The name of an unreal AnimSequence asset will match the name of its action in blender.
Skeletal Mesh with Animation
The animation can be imported along with entire skeletal mesh.

In this case you can see the Skeletal Mesh, Skeleton, Physics Asset, and Animation are all sent in a single operation.
Only Animation
What if the skeleton and skeletal mesh already exist in your project, and you just want to import animation onto an existing skeleton? That can be done in two ways: (1) by turning off all import options in the import settings except for Animations; (2) or by placing only the armature object in the Export collection. Both ways require you to set the project path to the Skeleton asset under the Paths tab in the settings dialog.
Tip
An easy way to do this is to right-click the unreal Skeleton asset and click "Copy Reference".
In this case two strips were un-muted, therefore two animations were imported onto the referenced skeleton asset.
Note
Also if export all actions was on, all actions would be exported regardless of their mute values.
Morph Targets
Here is an example of how to send shape key animation in blender to unreal as an animated morph target.
Note
The export custom property fcurves must be set to true in order for this to work. Also note that this can apply to any custom property fcurves not just the morph targets fcurve.
In this example a driver is created so that a custom float property head_swell on the armature object drives a shape key value. Furthermore, that custom property value is keyed in the third_person_walk01 action.
Note
Both the custom property and the driven shape key must have the same exact name in order for unreal to recognize it!
Note
This is what the driver settings look like: 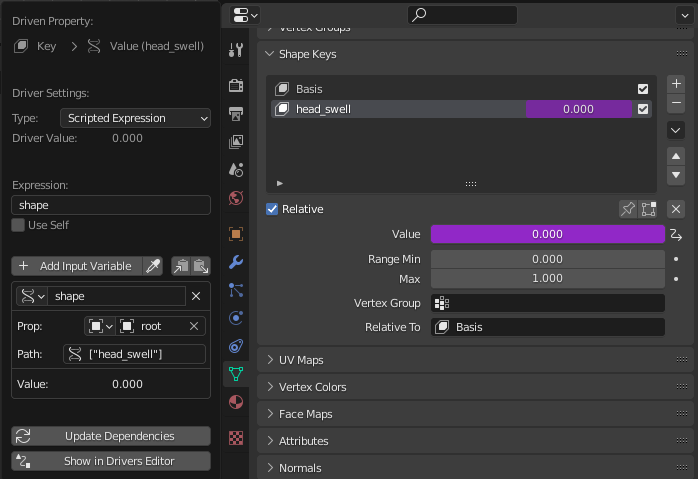
Also note that on the Import tab under the FBX import settings Import Morph Targets must be set to true. After moving the mannequin mesh and armature into the Export collection and running the send to unreal operation, the animation should import with the animated morph target value in the third_person_walk01 animation.