Templates
Let's talk about templates in UE to Rigify.
Using the mannequin as an example again, you can see If you hit Convert, that a Rigify "Control" rig is created that drives the original "Source" rig.
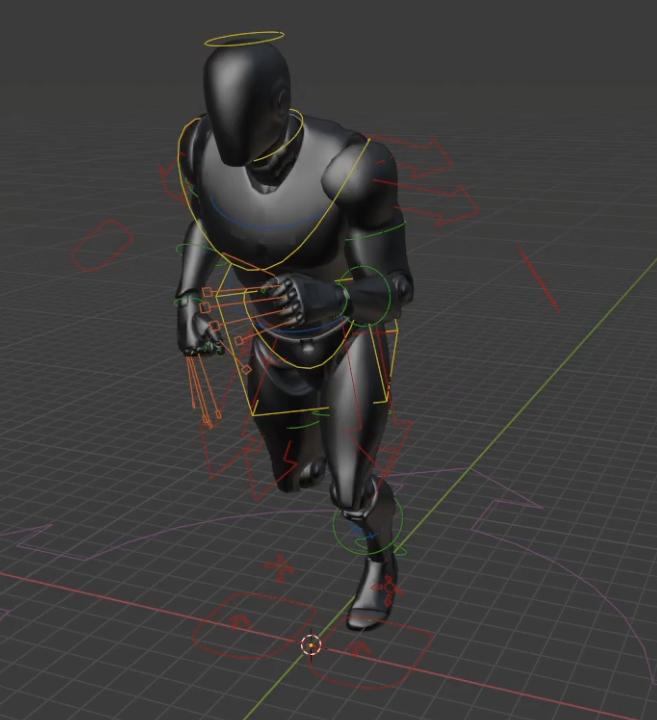
This is possible because of a predefined template for the unreal mannequin character that is selected from the template dropdown. This template contains all of the relationships and the bones necessary to create this rig.
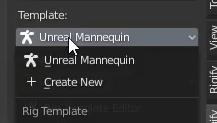
If I wanted to create a new template, I could go over here to this template panel and I could click create new.
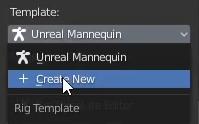
You can see that it adds in one of the default Rigify meta rigs.
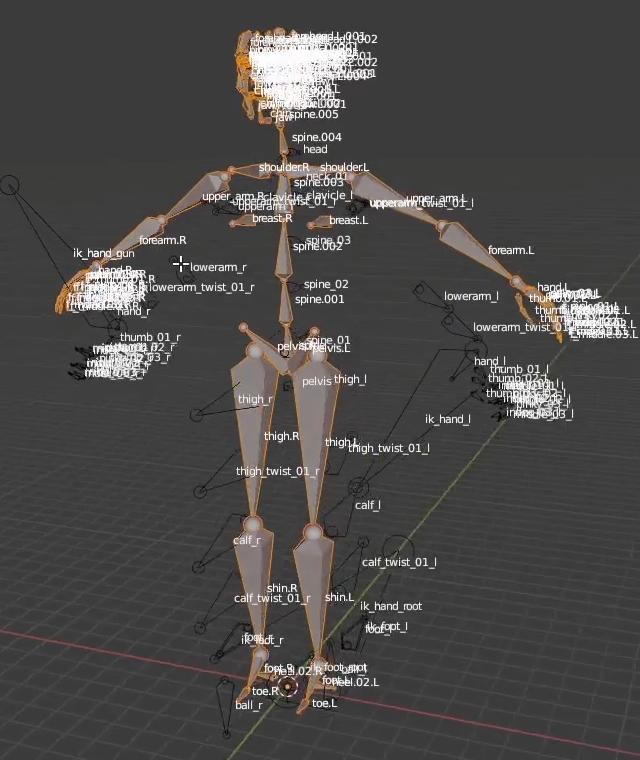
So basically, how this process works is you pick one of these default Rigify meta rigs and use one as a starting point.
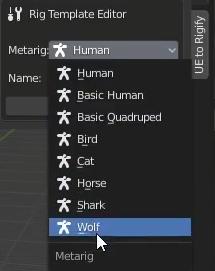
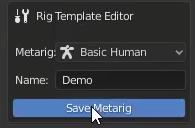
You name it, and then click Save Metarig.
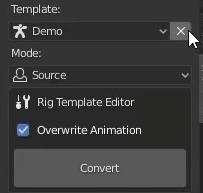
Now I am back in "Source" mode. If I click this delete button, I can remove this template.
Also, you can import templates from an external file. To demonstrate this, I'm going to switch over to another file where I have another character.
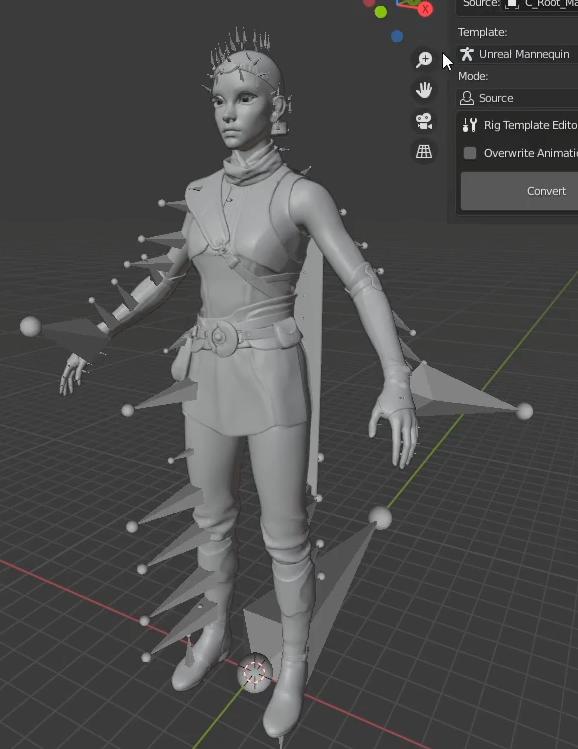
The unreal mannequin template is not going work with this. So I need to import the template that was made for this character. I'm going go over to the header menu and select Edit > Preferences > Addons > UE to Rigify. Here you can see there is an import template and export template import template.
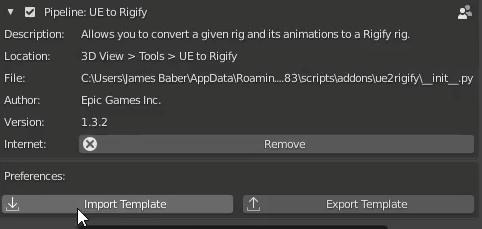
I'm just going import this template file from disk.

Now if I click Convert. You can see that the rig is generated from this template, and it all matches up because this template has been created specifically for this character.
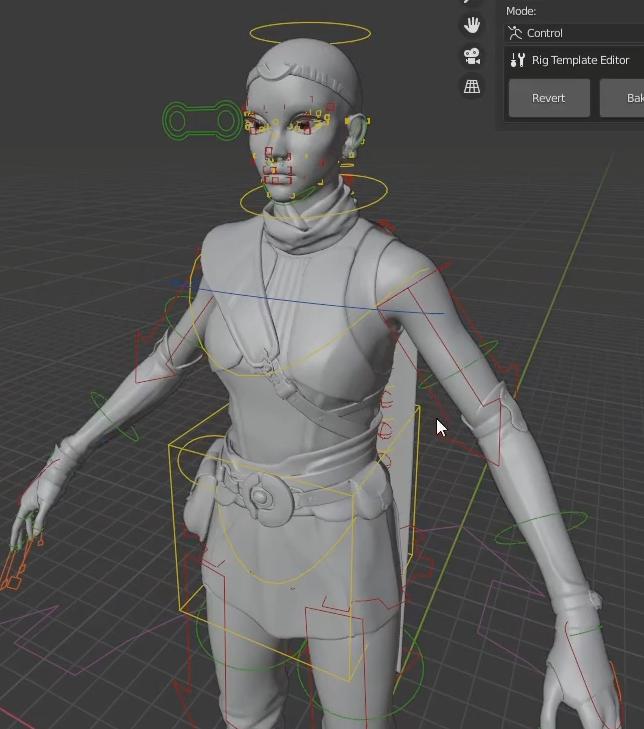
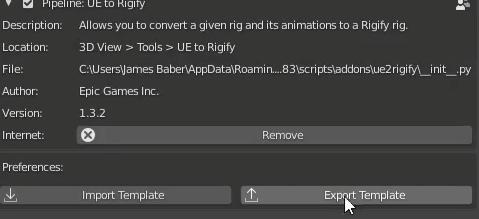
Now let's say we made modifications to this character’s template and we want someone else to be able to use it. All we have to do is go to Edit > Preferences > UE to Rigify and Export Template.
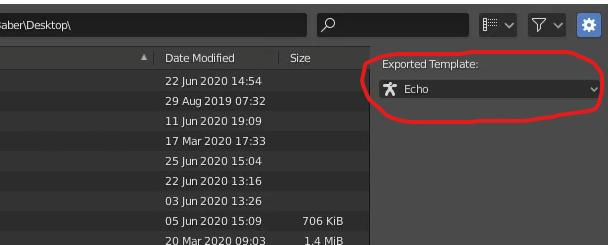
You can select which template you want to export in the side panel of the export window.
That is how you can use templates in "UE to Rigify"!